


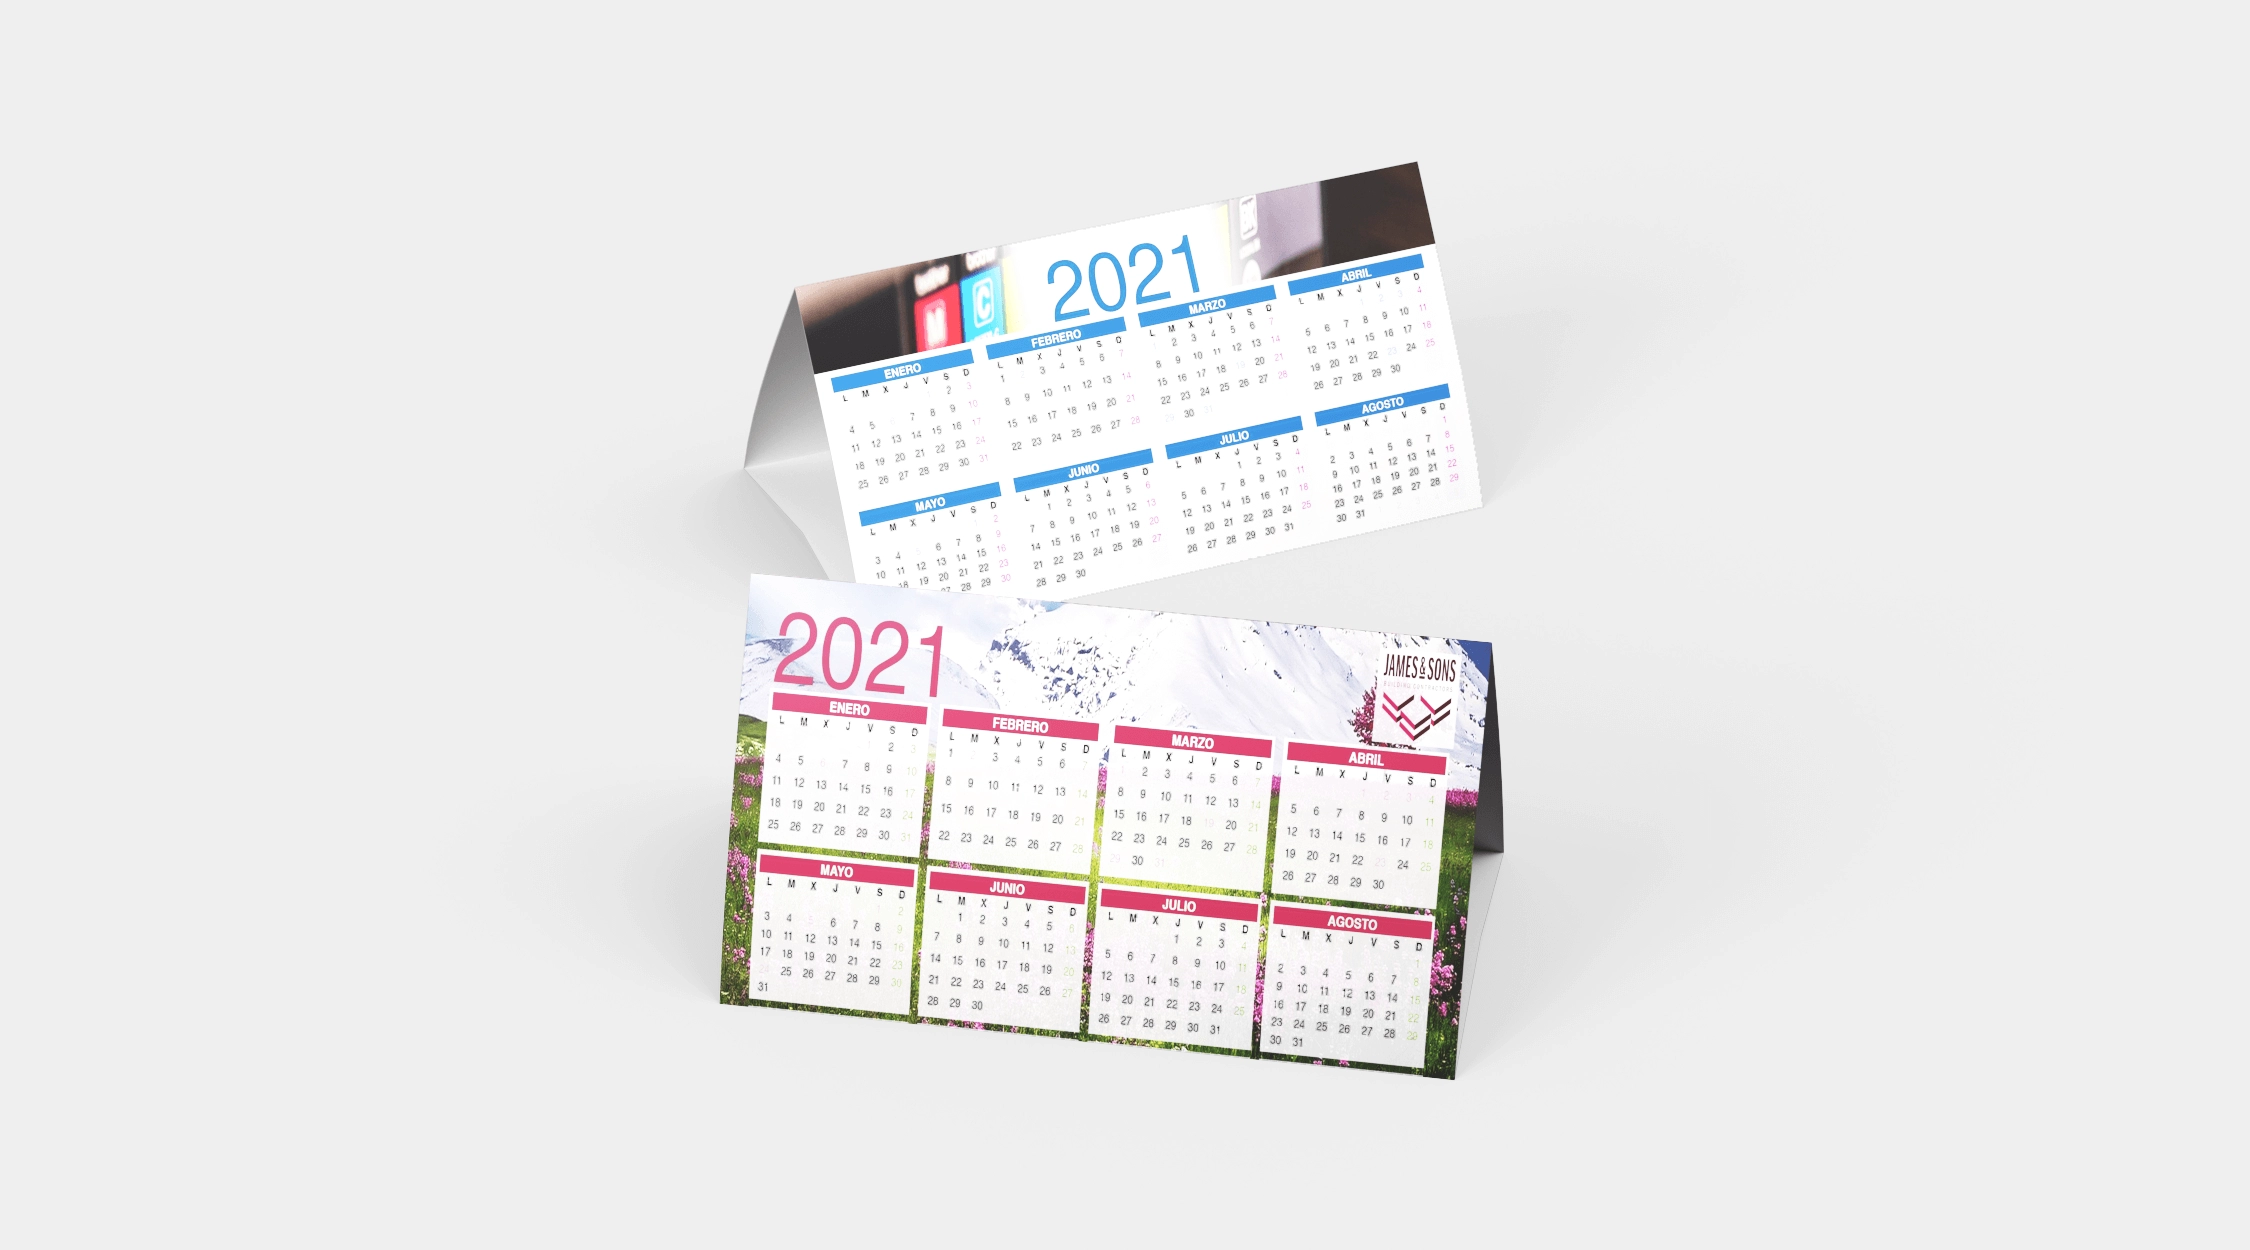
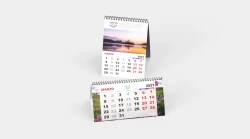
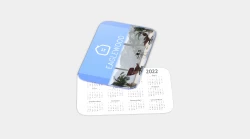
Desktop calendar
Choose the quantity you need by selecting one of the options from the drop-down. If you want another quantity, request a personalized quote or contact us.
The size that we currently have is the one reflected in the dropdown. For other sizes, contact us.
The most used material for this product is matte coating. In case you require another, you can request a personalized quote or contact us.
If you want to request another weight, you can request a personalized quote or contact us.
Colorimetry determines the number of colors your product content prints in.
4/0 tells you to print one-sided in color
4/4 tells you color 2-sided printing
1/0 tells you black and white single-sided printing
1/1 tells you 2-sided printing in black and white
This product will be printed in four-color, so you must take this into account when considering the colors in the design and treating direct inks in four-color. In case you need to print some special direct ink, which is impossible to produce in four-color, choose the options available in direct colors, or request a personalized quote.
Standard
29/05/2025
Quick
27/05/2025
Urgent
23/05/2025
By default a standard service is established where the shipping cost is zero, however we offer you the possibility of requesting other services in the available options.
Each additional option, being urgent services, entails an increase in cost that is defined when selecting it.
In each case, it is indicated in how many working days you will receive your order at destination, counting from the confirmation of the design by the client.
¿Qué quieres hacer con el diseño?


Tooltip informations


Customers who bought this product
were also interested in:
Recommendations
Recommendations that you should take into account for the design:
- Recommendations that you should take into account for the design:
- For best results, save your files in CMYK at 300 dpi.
- The recommended types of files are .pdf, .jpg or tiff, although you can also send them in .ai .psd, .png
- Remember to keep all important information such as names, addresses, phone numbers or logos at least 2 or 3 mm from the edge, respecting the safety zone.
- Include the blood of at least 2 mm in the document with its corresponding cutting guides.
- The text must always be converted to outlines.
For optimal results, use our default product templates, as they will show you the cut lines and margins required to make your design.
Please, ask for one of the ways that we detail below, the templates for your design.
by phone: 902 002 875
by mail: [email protected]
REQUIREMENTS TO CREATE A DOCUMENT SUITABLE FOR PRINTING
The documents that we send to the press must meet five basic requirements, which we detail through the attached illustration. These points must be taken into account to avoid any failure in their production.
Basic printing requirements
1 ›DOCUMENT FORMAT
You can send us the files in JPG, PDF or TIFF. Remember to embed the font if you send a PDF file.

2 ›THE ARCHIVE RESOLUTION
Images must have a resolution of 300 dpi to avoid blurry or pixelated images.
3 ›THE BLEEDING OF THE DOCUMENT
When any element of the document reaches the edge, 2 mm of blood will be added to allow a correct guillotine.
4 ›THE PLOTTED TYPOGRAPHY
Remember to convert the fonts to outlines if you send the file in PDF.
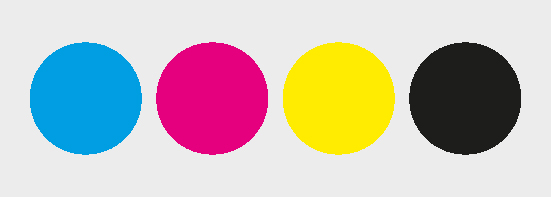
5 ›THE CMYK COLOR MODE
Files must always be in CMYK mode. Never in RGB.
Resolution in files to send a printing press.
Next, we briefly explain the concept of the resolution of the documents that must be attached for printing. We develop it in three points.
1- What is the resolution and why is a high resolution of the files to be printed necessary?
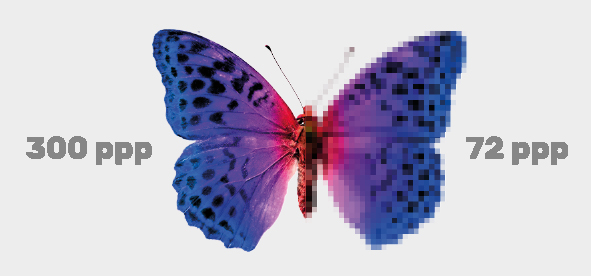
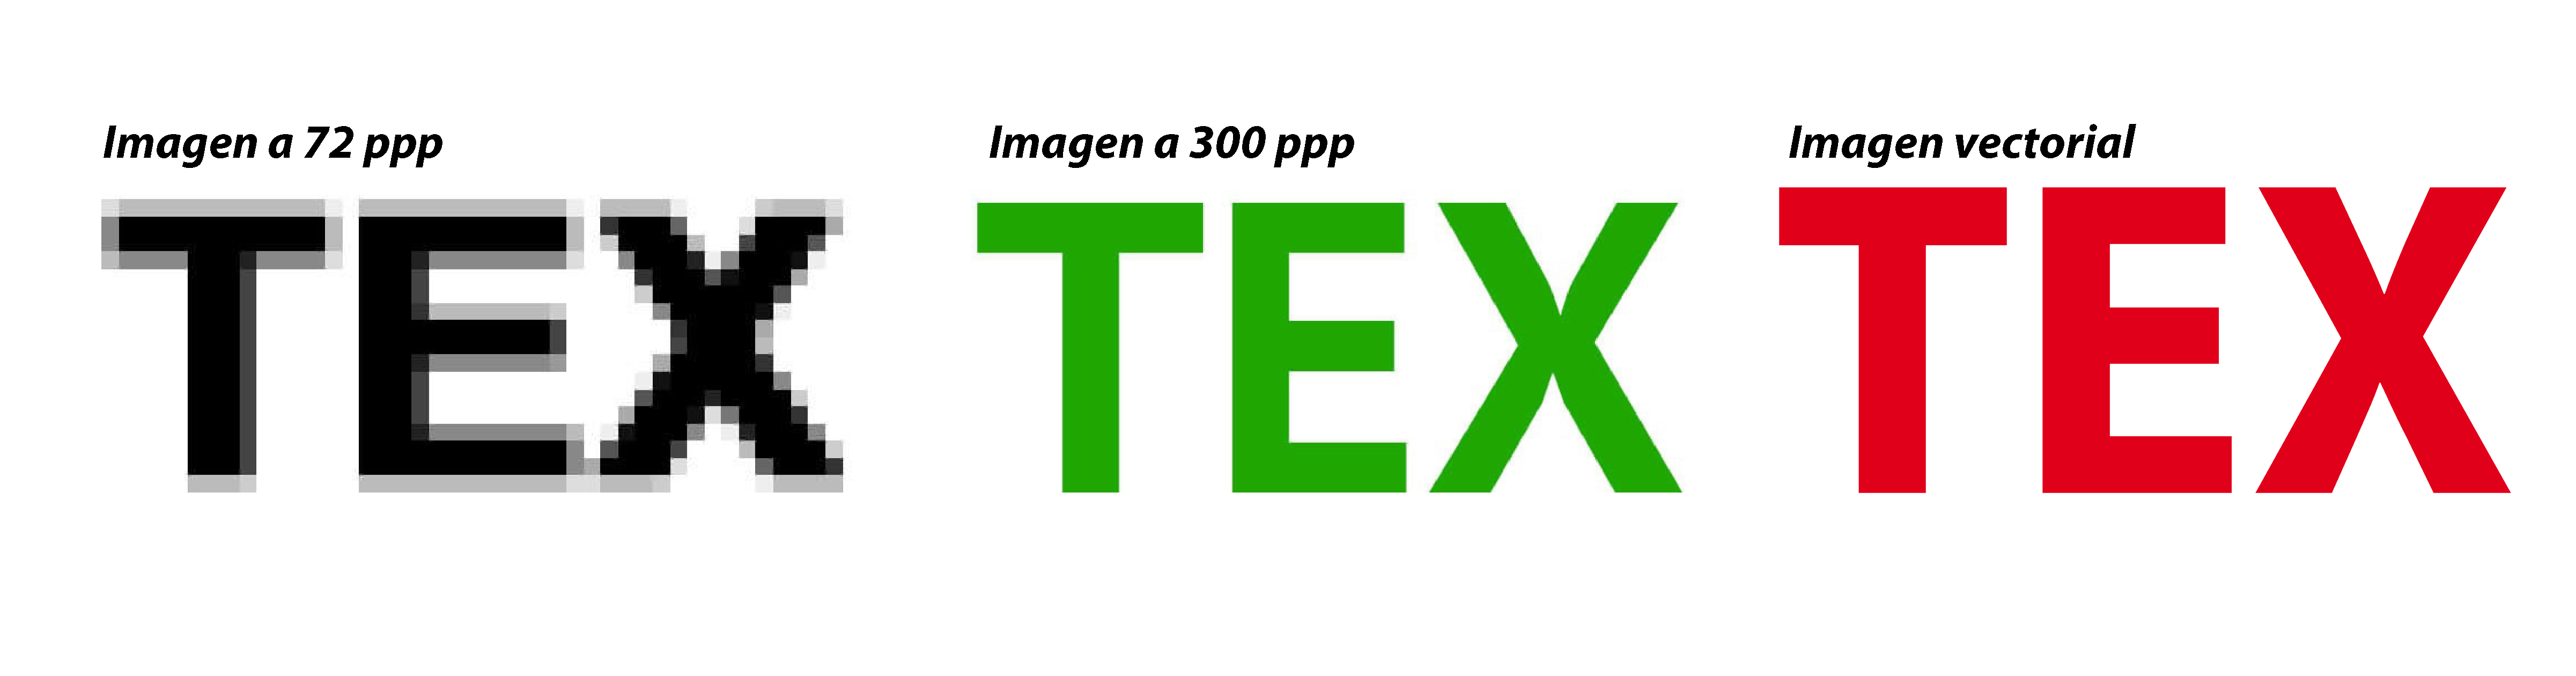
Resolution is the definition of an image at original size. Its unit of measurement is pixels per inch (dpi). The higher the resolution of an image, the better definition it will have.
You may see a perfect image on your computer screen, but it does not have the proper resolution for printing. For the printing of any document, the minimum resolution that the file must have is 200 dpi, computer monitors digitize the image at 72 dpi, so that on a computer between an image at 72 dpi and one at 200 dpi we do not notice a significant difference, in the impression if the difference will be appreciated.
When starting a design of our files, we must take into account the resolution that we define of the document, because the images that we insert in it, if they have high resolution they will lower to the resolution of the file, and if we work at 72 dpi later we will not be able to change them to 300 dpi.
Below we show you 3 examples of texts created at different resolutions and a vector text (this will never lose its quality no matter how much we enlarge it)
Note: Without having the original file editable it is impossible to change the resolution of a file created from 72 dpi to 300 dpi. It can only be done with the original editable file, changing the size of the document and making corrections to the corresponding texts and images.
2- How to check the resolution of a document.
On Mac - We can see what size and pixels our image has if we open it in the default image viewer and go to the tools tab and choose the option to adjust size, there we will find the number of pixels per inch that our document has .
In Windows - We open our image in the image viewer that our computer brings by default and we go to the File option - properties - search for resolution.
3- Prepare my files for high resolution printing
To create a file with good resolution for printing, we must take into account 3 important points.
• That all the images that we incorporate into our document have a resolution of 300 dpi.
• Corporate logos and images should preferably be in vector format.
• Before starting the design, create your file at 300 dpi optimal for printing. Do not create it in low resolution and later try to upload or save it in high resolution, as the end result will still be a poor quality image.
File fonts and fonts for printing.
We offer you this small guide in order to guide you in a basic way, the importance of fonts or fonts in the files that are going to be sent to print and why the fonts must be incorporated or traced in all printing documents.
For this we have created three questions to which we try to answer and define the most important aspects to take into account.
What about fonts NOT embedded in the document?
PBased on the fact that the file that we want to send for printing is a document with an editable font, we must take special care when saving the file so that it does not have problems in printing when opening it. If we send a file without the fonts embedded or traced, when opening it on another computer that does not have the fonts used in the file installed, these will be replaced immediately, which may cause undesired changes in the document and this will be affected.
In which formats is it not recommended to send files to the printer?
Some applications such as Word, Power Point, Excel, are not suitable programs to create files for printing, in the case of using any of these programs for design, it is necessary to save the file as PDF, because if you send a document In some of these formats mentioned above, it will be rejected by the printer and they will ask you to convert it to PDF. Generally the fonts installed on computers are not the same and even if they were, the versions of each of these programs may vary. Example - Microsoft Word 2007 documents are interpreted differently Microsoft Word 2010. There are suitable applications to create your design, we mention three of the most used: Indesing, Illustrator, Photoshop.
How to correct problems with your fonts?
The easiest way to avoid any problem with the fonts when the printer opens it, is to embed the fonts in the document or to convert them to curves or outlines. See example below.
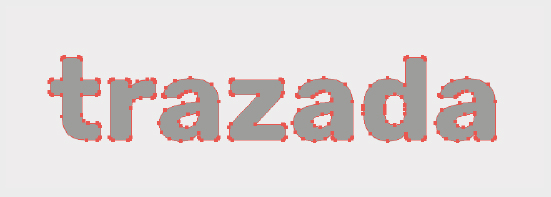
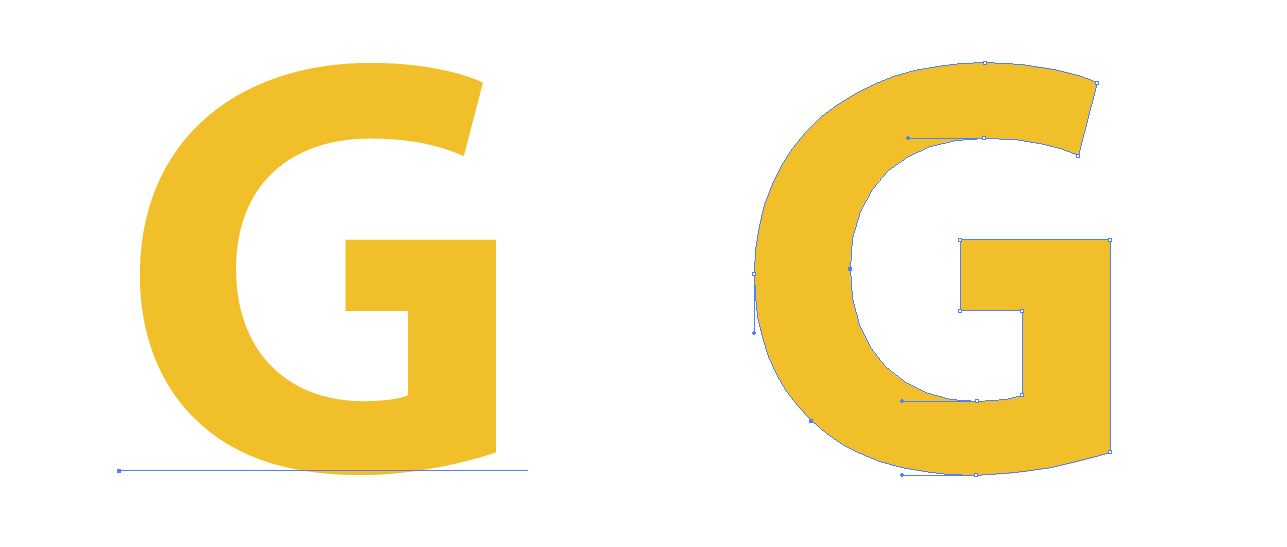
How to convert fonts to strokes or curves?
When we talk about converting fonts to strokes, curves or outlines, we mean that our typographic fonts go from being characters to vectors, this does not mean that their appearance changes, only that the text becomes a drawing which gives us the advantage that when sending the file to the printer, the printer will see the same as you when you open the document and it will not be necessary to embed the fonts, the only disadvantage of tracing the texts is that you will no longer be able to edit it, that is why it is necessary that before plot any text save a copy of the same document without plotting for future modifications.
Note: When we save our document for printing in a type of format such as JPG, PNG or TIFF, it is no longer an editable file, therefore the fonts become part of the image and cannot be modified. (always for later changes it is important that you save an original copy of the file in another editable format on your computer)
 Editable text Text converted to outlines
Document bleeding and security zone for printing.
Below we briefly explain the meaning of "Document Bleeding" and its importance, as well as the safety zone to consider.
Remember that before starting a design that goes to print, either offset or digital, you need to know what these two concepts mean and how to create them when making your design.
What is print blood or bleeding?
When we talk about blood or bleeding we are referring to an outer space that we must add to each side of our design. This space is necessary for a correct guillotining of the final product. Bleeding is mandatory especially for designs that have a background color or image.
What is the security zone and why is it necessary?
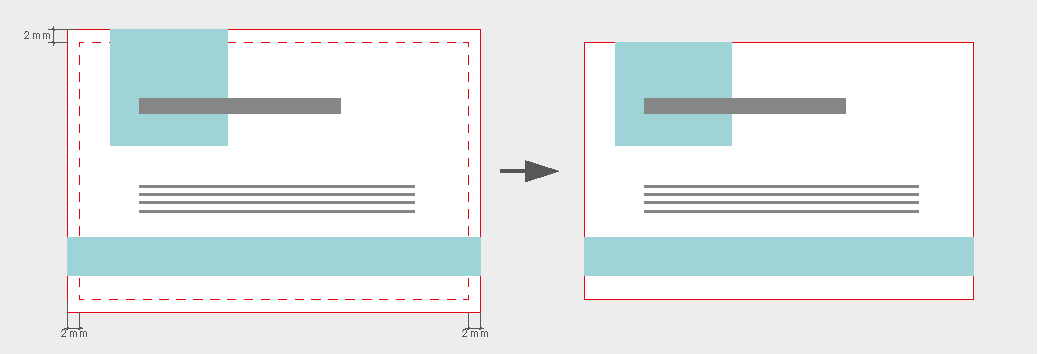
When we create our documents, it is necessary to leave a safety zone of at least 2 mm inside the edge where the cut line (guillotine) passes, no text or image should be on this area, which should not be cut, as its name indicates, is an area that will allow us to have a margin of safety with the bleeding area and thus prevent our texts from being cut or stuck too close to the edge.
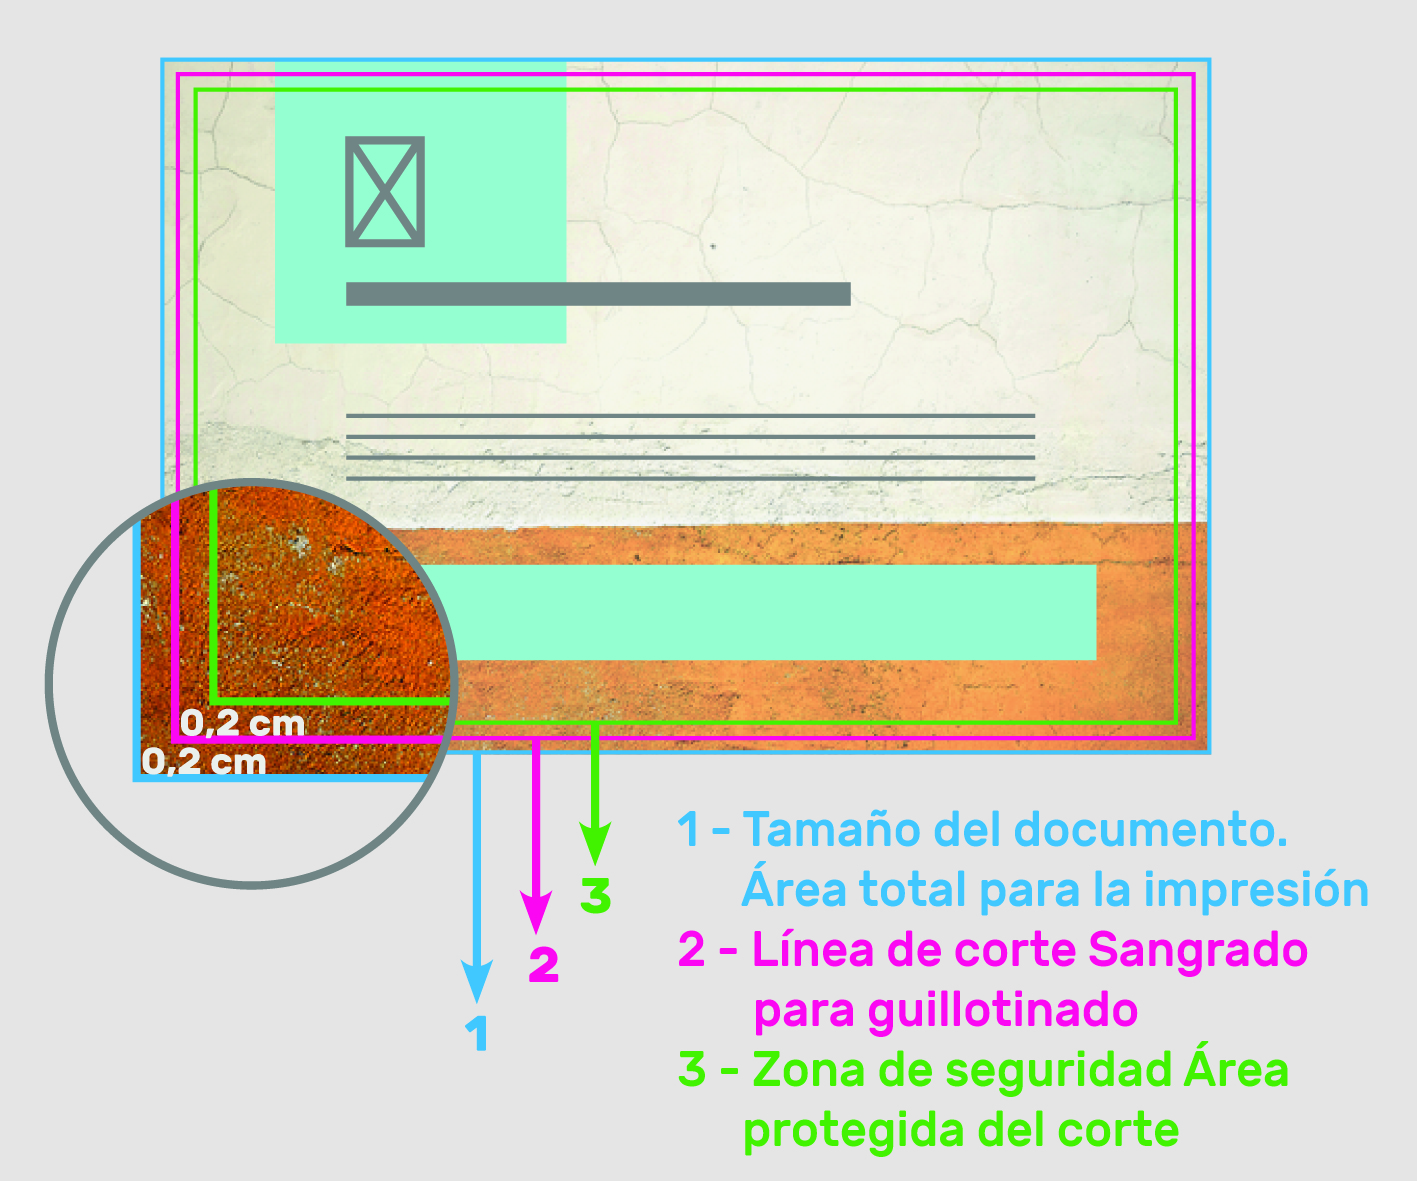
If we want to print some business cards, whose final size is (9.0 x 5.5 cm). The file to be designed must have 2 mm bleed, so we will send to the printer a file of (9.4 x 5.9 cm). These 2 mm that we increase in size when creating the template, will be the margin used by the printing press for its guillotine. We must also take into account that in our design there is a security zone that is nothing more than a space of separation (4 mm) of the texts and images of the edge of the final file. See attached image.
DOCUMENT BLEEDING AND SECURITY ZONE.
Business card size 8,5 x 5,5 cm
- Document size: 8,9 x 5,9 cm
- Cutting line: 8,5 x 5,5 cm
- Safety zone: 8,1 x 5,1 cm
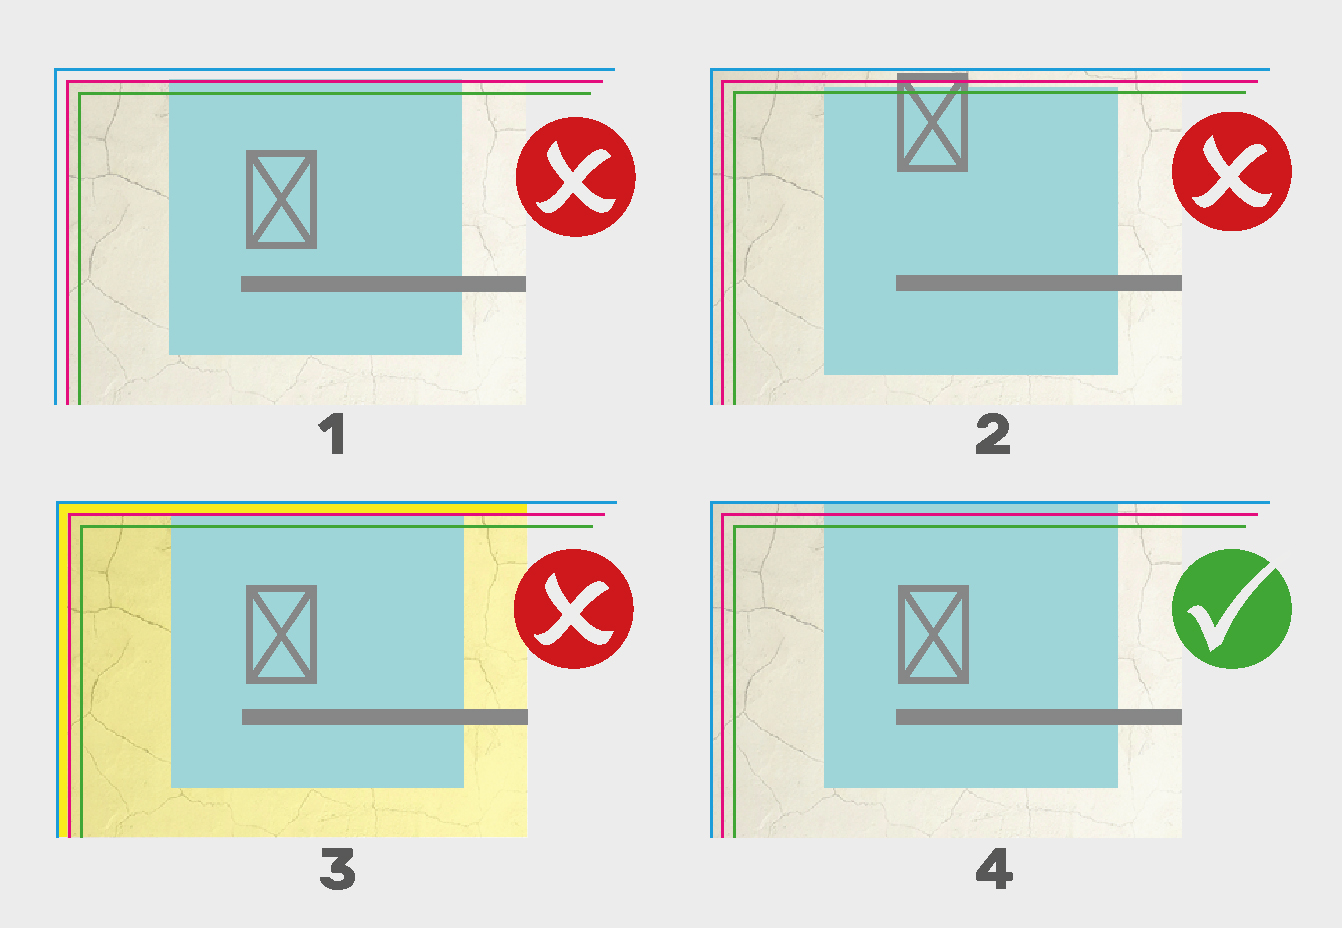
2 › ERRORES FRECUENTES
- 1- No bleeding zone
- 2- Text or objects outside the safety zone
- 3- Bleed zone other than desing
- 4- Correct file to print
DEADLINES OF ORDERS
The delivery time is defined in working days and will count from the client confirming the design. The same application will indicate the delivery days and the estimated date on which you will receive the order, according to the options you check and the type of service requested.
We differentiate two shipping areas:
Spain: Shipments to PENÍNSULA IBÉRICA Y BALEARES, are free for standard service, fast and urgent service will carry a surcharge.
For shipments to the Canary Islands, Ceuta, Melilla and the rest of Europe, an additional charge will be applied, for which you must contact us through the email [email protected] or telephone 971 747 746 to give you information or you can request a personalized quote. The delivery time for these destinations will increase between 4-6 business days.
We indicate the shipping days that increase according to the area.
Portugal - 2 business days
France, Italy, Germany - 4 business days
Rest of Europe - 6 business days
Please note: Delivery times, upon the timely arrival of data, are met with a probability of 98%. For reasons of overcapacity, different finishes or different modes of delivery of the courier service, delivery times are subject to exceptions to certain tolerances.
Packages are sent by various courier companies, which try to deliver up to two times, in the event that the package cannot be delivered, they will return it to our facilities. The company is not obliged to call the client to arrange the delivery, therefore the client must be aware of the reception of the packages.
Once the return is received in our facilities, if the client wants to be sent again, it will have a cost. Graficlick will inform the customer by email of the cost of the second shipment.
We can not be held responsible for the non-delivery of the package due to the absence on more than one occasion of the client.
 You can add your design in the next step
Save Quote
Presupuesto guardado
Save Quote
Give us an email and we will send you the budget for your order.

You have doubts?
We are always at your disposal, call us at 971 747 746 and we will solve them for you at the moment
